Planning a Quartz Island for a Kitchen That Opens to the Patio
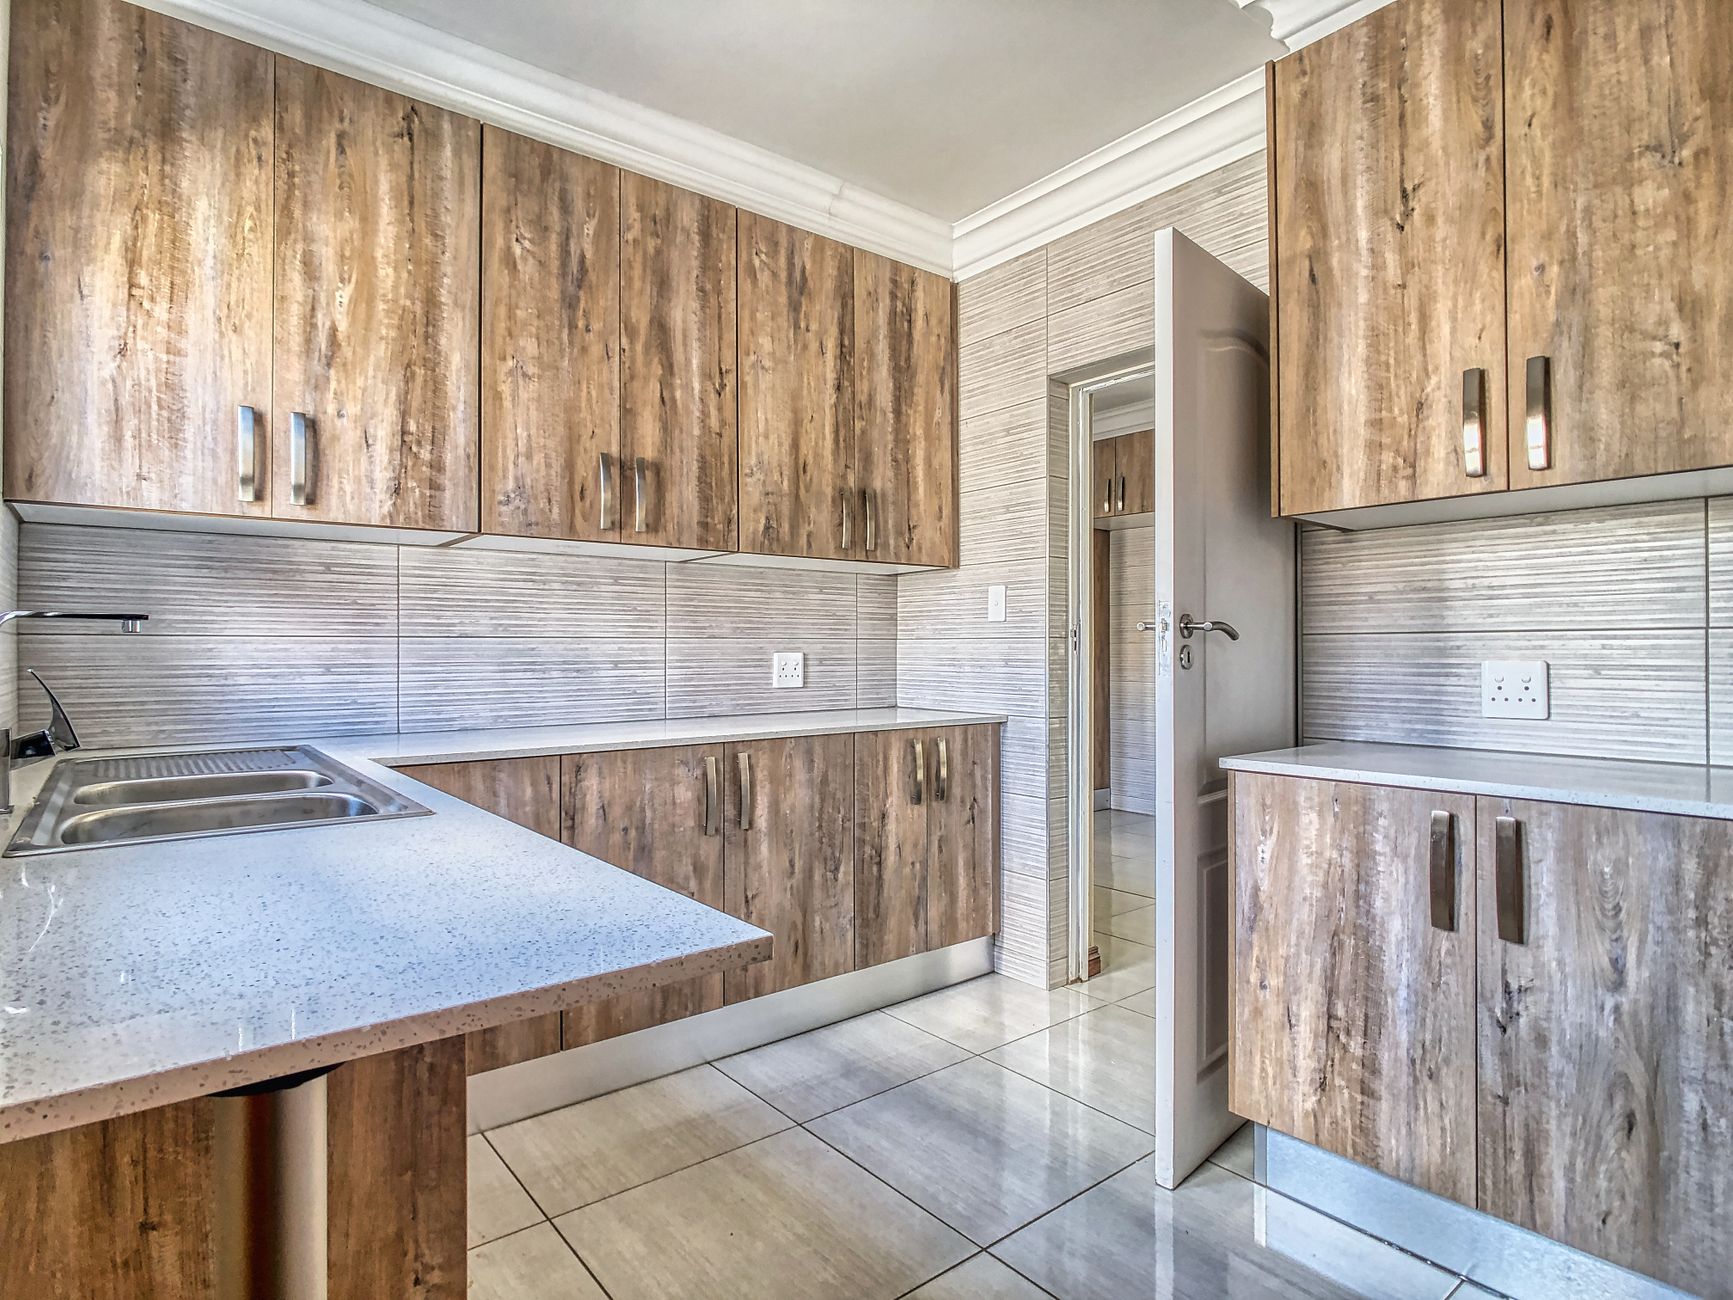
A kitchen island does more jobs than any other piece of the room. It is a prep table, a landing strip for groceries, a homework desk and, in a house with a patio door a few steps away, the place where everyone ends up standing. Planning one in engineered quartz means answering a handful of practical questions before the slab is ordered, because the answers decide the seams, the edges, the cutouts and how the surface will age in strong Temecula light. This is the order those questions usually come up in.
Start with the footprint, not the slab
The size of the island comes from the room, and the slab comes from the island. Clearance around the island matters more than the length of the top. Walkways on the working sides need room for two people to pass with the oven door or the dishwasher open. A seating side needs knee space, which means an overhang of the top past the cabinet. That overhang is unsupported quartz, and it has limits. A deep overhang for stools usually needs brackets or a leg underneath, and the installer will say so at the template visit.
It helps to tape the outline of the island on the floor for a day. Walk around it, pull the refrigerator open, carry a laundry basket past it. Houses in the Inland Empire built in the last few decades often have tighter kitchens than the plans suggest, and an island that looked right on paper can pinch a walkway by a few inches.
Decide where the sink and the cooktop go
Plumbing and heat both drive the layout of the top. A sink on the island means an undermount sink cutout, a faucet hole or two, and a spot where water is present every day. A cooktop on the island means a large cutout and a heat source close to the surface. Neither belongs on a seam. The fabricator will lay out the slab so that the joins land between these features, on solid cabinet support, and away from corners where the quartz is narrowest.
If both the sink and the cooktop sit on one island, the top is often cut in two with the seam placed between them. That keeps the thin strips at each cutout on a single, unbroken piece.
Check the light before choosing the color
An island facing a slider gets afternoon sun. Engineered quartz carries a resin binder, and long, direct exposure can warm the tint of a pale slab over the years. Stand in the kitchen at three in the afternoon in July and see where the light actually lands. If the island sits in that light, a patterned or mid-tone color hides any change, while a pure white shows it first. Window film, a shade or an eave outside changes the answer. In a house that sees the valley sun through a wall of glass, it is worth choosing a color for the light it will get, not the light in the showroom.
Pick an edge that suits the household
| Edge | Look | Where it works | Watch for |
|---|---|---|---|
| Eased edge | Square with a softened corner | Busy kitchens, families with young children | Plain look, little visual weight |
| Bullnose | Fully rounded | Seating sides where people lean | Rounded profile can read traditional |
| Mitered edge | Thick, crisp, modern | Islands with a clear overhang | Sharp corner chips if struck |
| Waterfall edge | Top turns down the side to the floor | Island ends that face the room | Heavy panels, pattern matching, careful cabinet prep |
An eased edge is the quiet choice and the one least likely to chip. A mitered edge makes a thin top look thick by gluing two pieces at forty five degrees, and it suits a clean modern room. A waterfall edge is a statement on the end of an island, and it asks for the most planning, since the veining has to match across the corner and the panel has to be carried in and set on a flat floor.
Think about outlets, stools and what lands on the top
Outlets on an island are required in most kitchens, and their location affects the top. A pop-up unit needs a cutout, a side-mounted outlet needs a clear cabinet end, and a waterfall panel changes where either can go. It is easier to decide this before the template than after.
Stools are the other thing that gets forgotten. Counter height stools and a deep enough overhang are the usual match, though the right numbers come from the people who sit there. Consider the finish, too: a polished surface shows fingerprints and light scratches under strong sun, while a honed or matte finish hides them. The finish choice belongs in the same conversation as the color.
Plan for the heat that an island invites
An island is where the slow cooker, the air fryer and the pot of chili end up during a gathering. Resin does not like sustained heat. Trivets and mats live on the island as a matter of habit, and the household should know that before the first party. A cooktop on the island adds to this, since pans move from the burner to the counter within a step.
Walk through the template visit
The template is the moment where the plan gets fixed. A technician measures the cabinets, marks the overhang, the sink and cooktop cutouts, and notes the seam locations. A digital template captures every angle, and a wood strip template does the same by hand. Homes in Riverside County and out toward Pechanga and Murrieta Creek vary in age and construction, and walls are rarely square, so the template reflects the room as it is.
Before the visit, have these ready:
- The sink and faucet in hand, or the exact model, so the cutout and the hole count are right.
- The cooktop or range model, since each has its own cutout size.
- The stool height and the number of seats.
- The outlet plan, including any pop-up unit.
- The cabinet work finished and the base level.
What installation day looks like
The perimeter pieces go in first and the island last. The crew dry fits each piece, checks level, applies adhesive at the seams, pulls the joints tight and polishes them flat once the adhesive has cured. The sink gets glued and clamped from below, and the faucet goes on after. A waterfall panel is carried in on a frame, set against the cabinet end and glued at the corner before the top goes on. A leftover remnant from the slab is worth keeping for a repair later, because it comes from the same lot and ages the same way.
A last pass before signing off on the plan
Walk through the day in the kitchen and see where the sun lands, where the heat lands and where the water lands, and keep seams away from the last two. Confirm the edge, the overhang support and the outlet before the slab is cut.